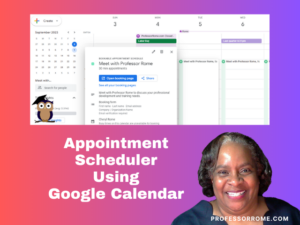
Good news small business owners! Google Calendar has a new feature called Appointment Schedule. Create a shareable page that lets your clients book time with you. It’s money in your inbox.
IMPORTANT: Appointment Scheduler works with the Google Workspace Business, Enterprise, and Education accounts. Want more scheduling options and you have a Google Workspace Individual account? You will need to upgrade your appointments. Let’s build a booking page!
- Log into your Google Workspace Account.
- Select Calendar from the Google App menu.
- Click the Create button located in the upper right corner of the screen.
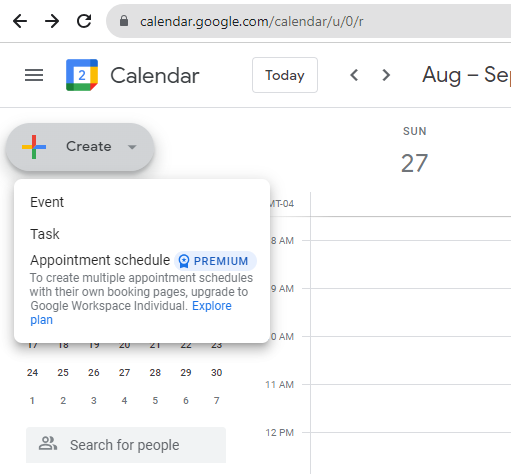
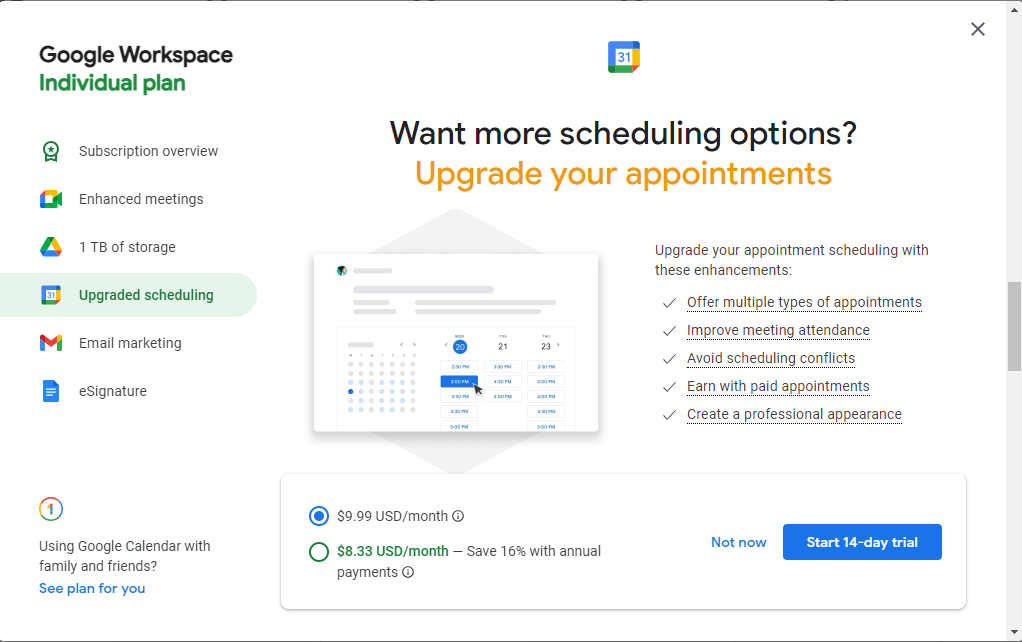
Suppose you have the Google Workspace Individual plan. In that case, you will need to upgrade your Appointment Schedule to offer multiple types of appointments, improve meeting attendance, avoid scheduling conflicts, earn with paid appointments, and create a professional appearance. Click the Start 14-day Trial button and follow the on-screen directions. Otherwise, select Not Now.
For this demonstration, I will use my Google Workspace Business plan which includes the Appointment Scheduler Premium. This is the screen you will see after clicking on the Create button using the Google Workspace Business account.
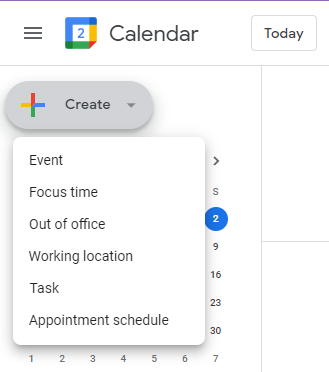
- Click Appointment Schedule.
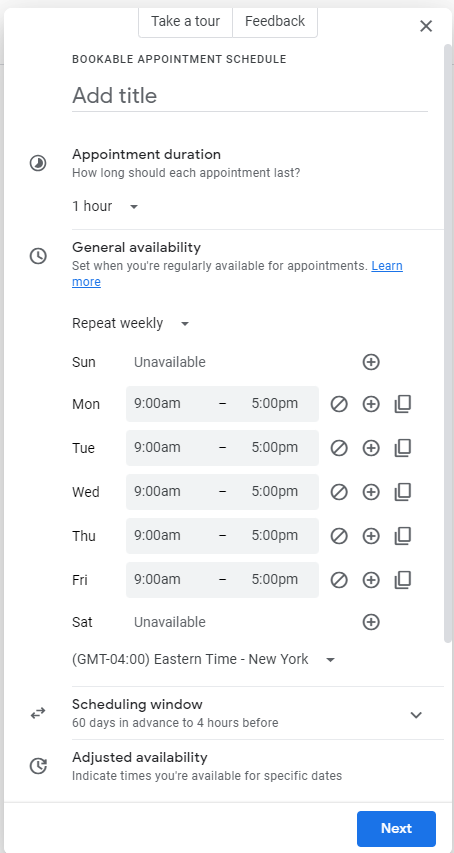
- Add a title, appointment duration, general availability, schedule window, adjusted availability (if needed), booked appointment settings, calendars checked for availability, and color.
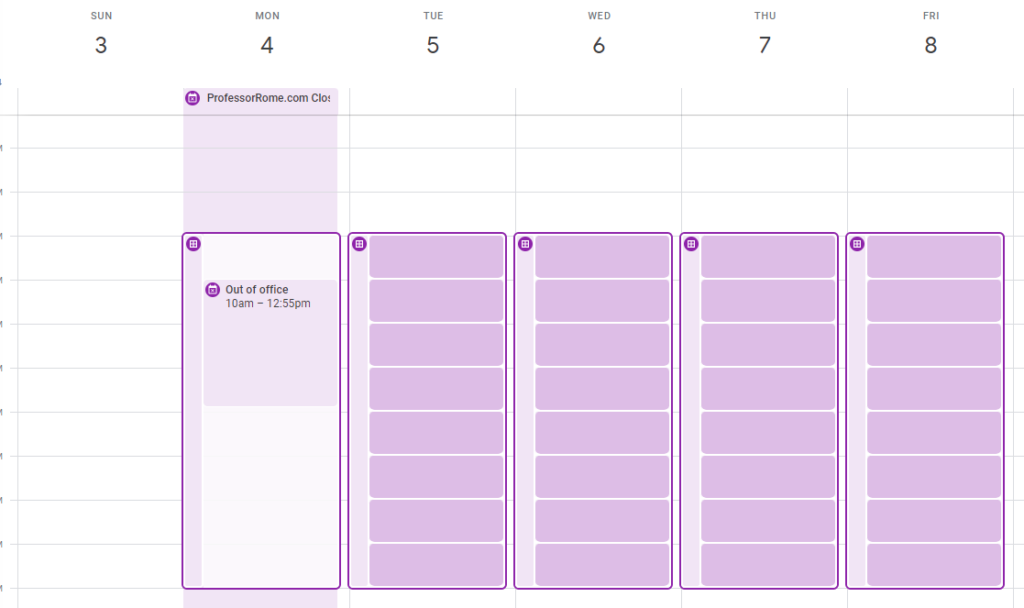
Your calendar will begin to look like this:
- Click Next
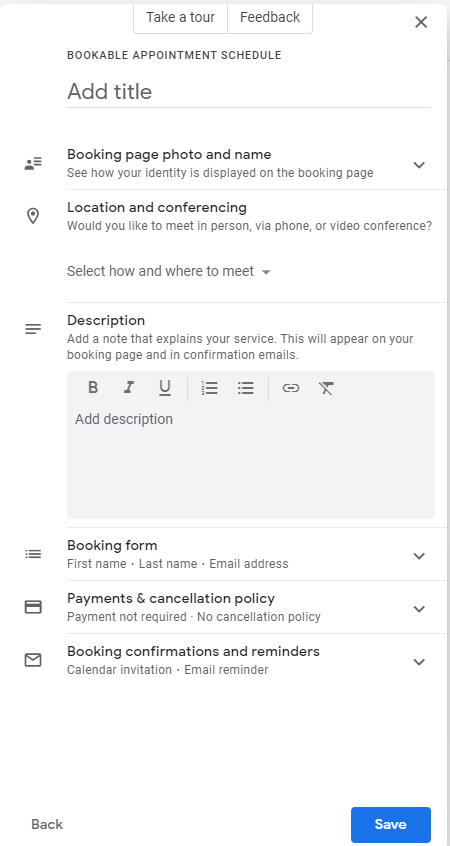
- Add a booking page photo and name, location and conferencing, description, booking form, payments & cancellation policy, and booking confirmation and reminders.
Be sure to add a cancellation and refund policy. This information will appear on your booking form and in email reminders.
To help prevent no shows and last minute cancellations, be sure to set up payments through Stripe. By setting up payments, you will be able to collect debit and credit payments in advance.
- Click Save
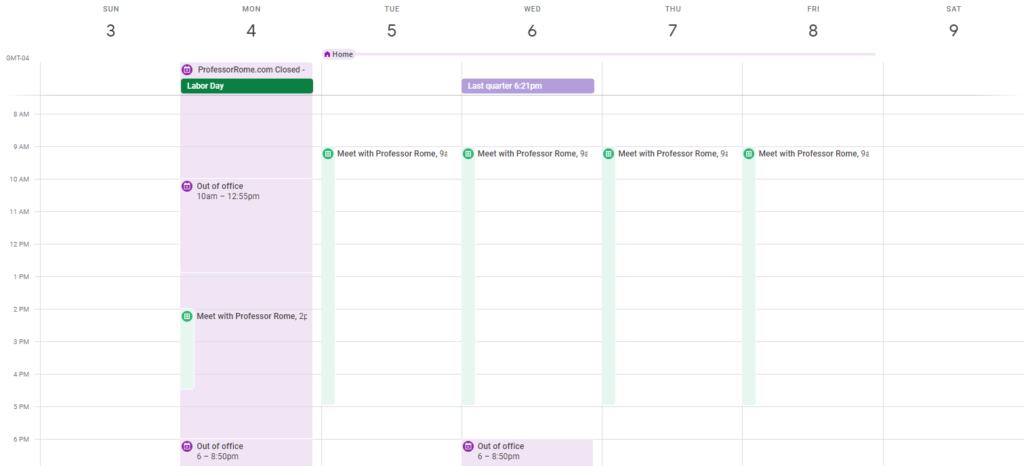
When you are done setting up your appointment schedule, your Google Workspace Calendar will look similar to this:
Modifying Your Google Workspace Appointment Schedule
To modify your Google Workspace Appointment Schedule: navigate to one of the days containing the Appointment Schedule,
- Navigate to one of the days containing the Appointment Schedule
- Click on the title
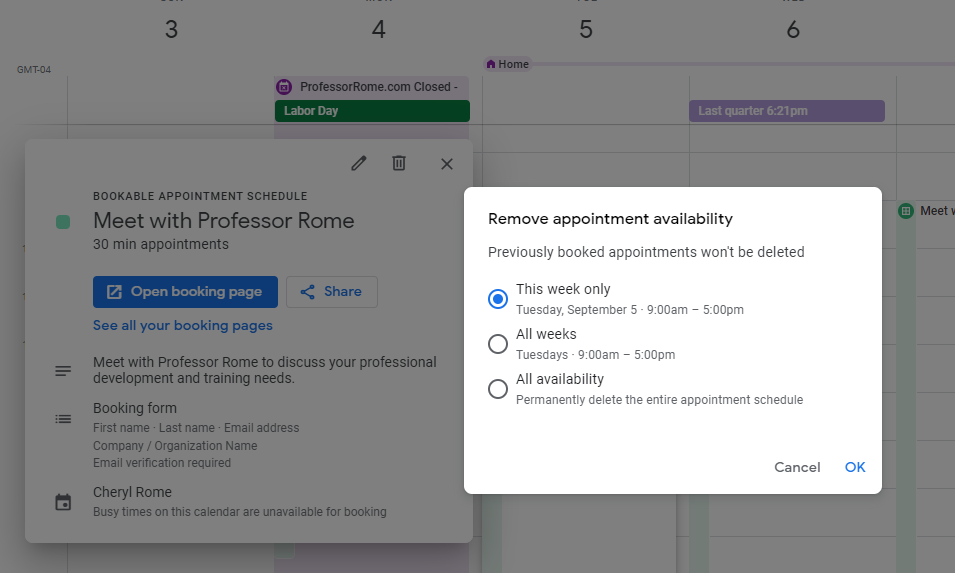
- Select the pencil icon to edit your schedule or the garbage can icon to delete your appointment schedule.
- Follow the on-screen directions
Share Your Google Workspace Appointment Schedule
- Navigate to one of the days containing the Appointment Schedule
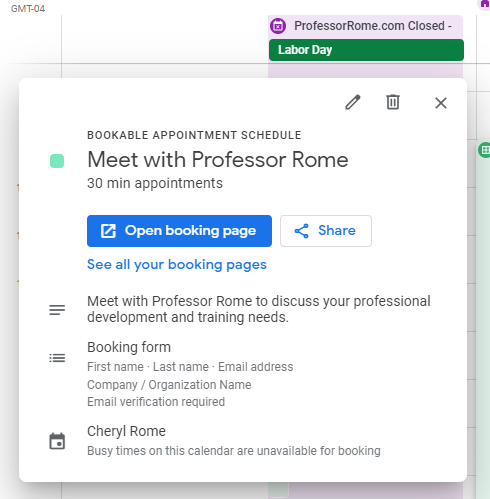
- Click on the title
- Click Share to share your booking page
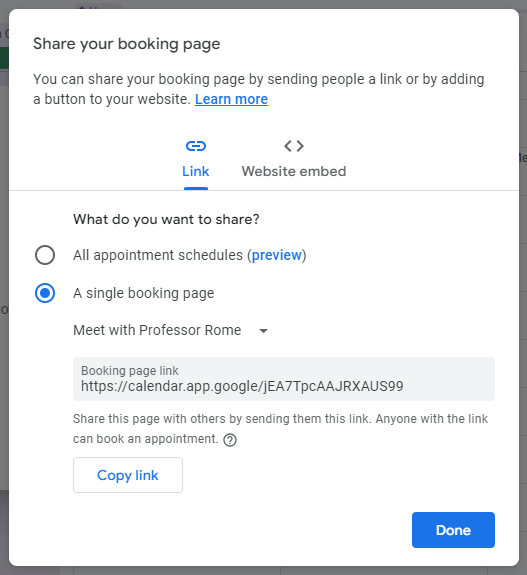
You can share your booking page by sending your clients a link or by adding a button to your website.
Select Link or Website Embed and follow the on-screen instructions. Click Done when you have completed those steps.


0 Comments