
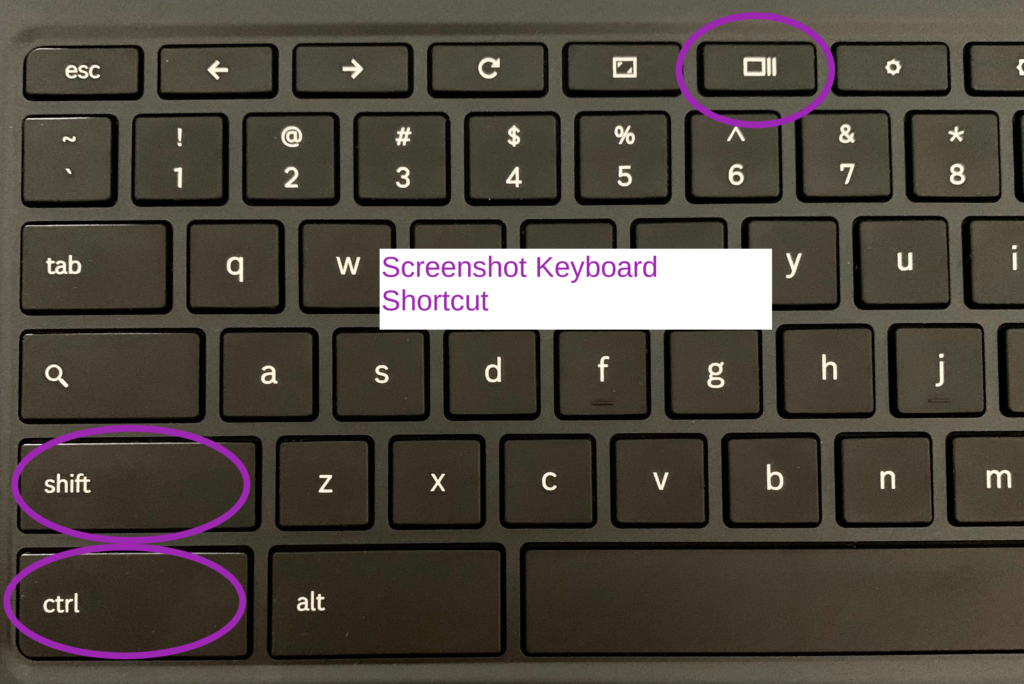
There may be an occasion when you will need to capture information on your screen with your Chromebook. Here’s how:
- Press SHIFT+CTRL+SHOW
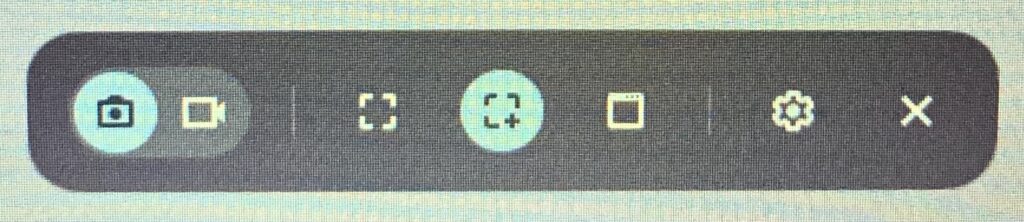
- Select Screenshot or Screen Record
- Using Screenshot, select from:
- Take a Full Screenshot
- Take a Partial Screenshot
- Take a Window Screenshot
- Using Screen Record, select from:
- Record Full Screen
- Record Partial Screen
- Record Window
- If you want to capture screen audio, click on the Settings button to enable the Record Microphone button.
- After selecting Full, Partial or Window, click the Capture button located in the middle of the screen.
- Click on the Edit button located on the notification box located in the lower-right corner of the screen.
- Make any necessary edits and the click on the More Options button located in the upper-right corner of the Edit window.
- Select from:
- Save as
- Open…
- Help >
- Licenses
- If you missed the Edit notification, click on the Tote located in the lower right corner of the screen.
- Click on Download > to view the screen capture of your choice.
- Repeat steps 8 and 9.


Thanks for sharing. I read many of your blog posts, cool, your blog is very good.